Refreshing Your Treadmill Experience: A Guide to Replacing Your Treadmill Belt Introduction


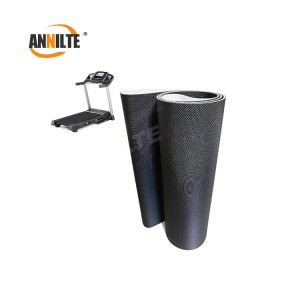
Type of Treadmill Belt
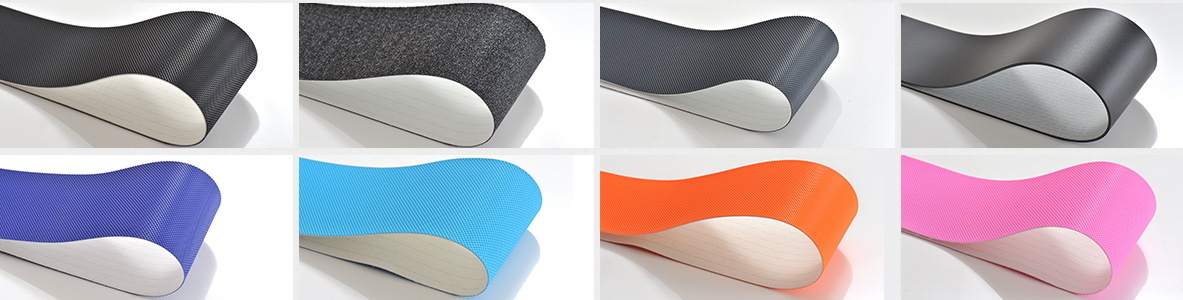
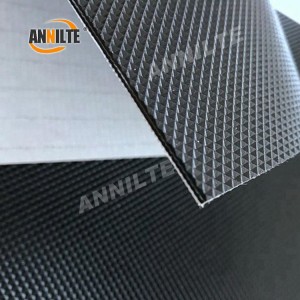
Diamond pattern treadmill conveyor belt
Product features: low noise, wear resistance, anti-static, anti-UV, healthy environmental protection, operation does not drop slag, custom range: thickness, color, tension, extension, friction coefficient, length width and so on
Fine grass grain treadmill conveyor belt
Product features: low noise, anti-static, anti-ultraviolet, healthy environmental protection, operation does not drop slag, joint smooth without marks, custom range: thickness, color, tension, extension, friction coefficient, length and width
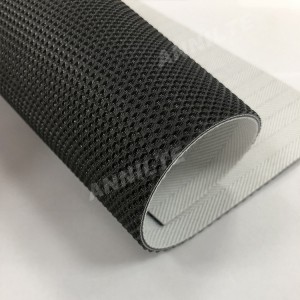
Golf grain treadmill conveyor belt
Product Features: maintenance-free, low noise, anti-static, anti-ultraviolet, healthy environmental protection, no slag running, joint flat, mostly used for commercial treadmill, custom range: thickness, color, tension, extension, friction coefficient, length and width
Tire grain treadmill conveyor belt
Product Features: maintenance-free, low noise, anti-static, anti-ultraviolet, healthy environmental protection, no slag running, joint flat, mostly used for commercial treadmill, custom range: thickness, color, tension, extension, friction coefficient, length and width
Why Choose Us
1. Selected Materials, Super Durable
Adopting imported high-density rubber + reinforced fiber layer, it is anti-stretching, wear-resistant, and the life span is increased by more than 50%.
Anti-static and anti-slip treatment ensures smooth operation and avoids the risk of accidents.
2. Precision craftsmanship, quieter operation
Seamless articulation technology, reduce friction noise, household does not disturb the people, commercial more durable.
3. Full model coverage, perfect fit
supports mainstream brands at home and abroad, providing a variety of width, thickness and length options.
OEM/ODM customization services to meet the needs of special models. 4.
4. factory direct supply, cost-effective
source factory, no middleman price difference, the price is 30%-50% lower than the original parts.
Support bulk purchase, long-term cooperation is more favorable!


Applicable Scenarios
Home Treadmill - Quiet design, suitable for daily exercise, family use more peace of mind.
Commercial gym - high load capacity, withstand long time high-intensity use.
Maintenance service providers - stable supply, high quality and low price, improve customer satisfaction.
Choose us, is to choose quality and trust!
Quality Assurance Stability of Supply
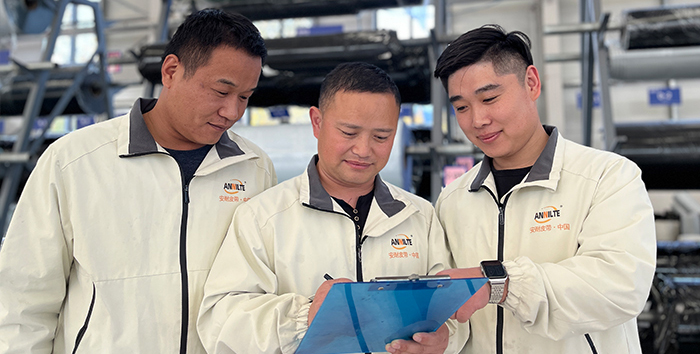
R&D Team
Annilte has a research and development team consisting of 35 technicians. With strong technical research and development capabilities, we have provided conveyor belt customization services for 1780 industry segments, and gained recognition and affirmation from 20,000+ customers. With mature R&D and customization experience, we can meet the customization needs of different scenarios in various industries.
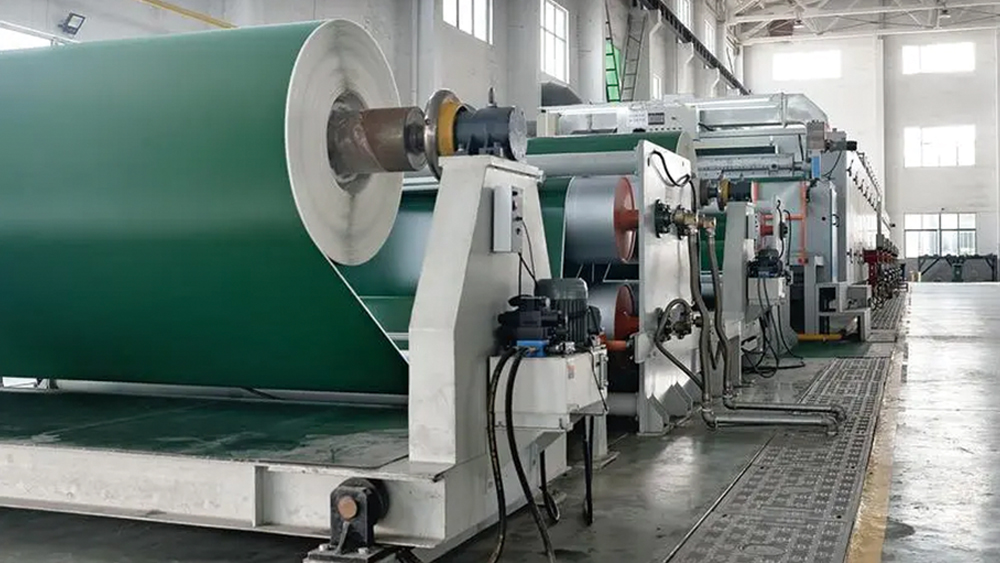
Production Strength
Annilte has 16 fully automated production lines imported from Germany in its integrated workshop, and 2 additional emergency backup production lines. The company ensures that the safety stock of all kinds of raw materials is not less than 400,000 square meters, and once the customer submits an emergency order, we will ship the product within 24 hours to respond to the customer's needs efficiently.
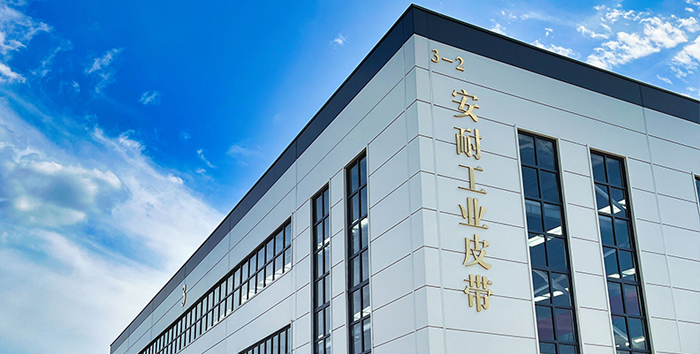
Annilte is a conveyor belt manufacturer with 15 years of experience in China and an enterprise ISO quality certification. We are also an international SGS-certified gold product manufacturer.
We offer a wide range of customizable belt solutions under our own brand, "ANNILTE."
Should you require further information regarding our conveyor belts, please do not hesitate to contact us.
WhatsApp: +86 185 6019 6101 Tel/WeChat: +86 185 6010 2292
E-mail: 391886440@qq.com Website: https://www.annilte.net/